To have remote access to your PC which is physically not in your vicinity can be a bit tricky. Apps like TeamViewer and Splashtop are quite good when it comes to access your PC. But Windows have launched their own Remote Access Client app for Android platform. Users can easily go through their computer and access files and programs. It can also be used for troubleshooting certain problems. This app uses Windows’ Network Layer Authentication (NLA) technology to get access to your files and programs. This app is available for free on the Google Play Store and can be downloaded here. The best part about this app is that no file has to be installed on the PC. Download this file to your android device and with a few little tweaks to your PC you are good to go.
How to Set Up Remote Desktop Client?
#1 First of all you have to enable remote connections on your PC only then your device will be able to access your PC.
To change your connection setting go to Control Panel > System and Security and then select Remote Setting on the left hand side which is highlighted in the screenshot.

#2 Now in the Remote Desktop section choose the ‘Allow remote connections to this computer’ option. Also allow the Network Level Authentication option.
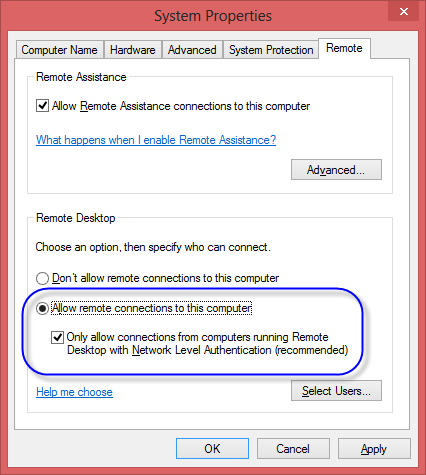
#3 If the PC has multiple users you can set the availability of this option to certain users only by using ‘Select Users’.
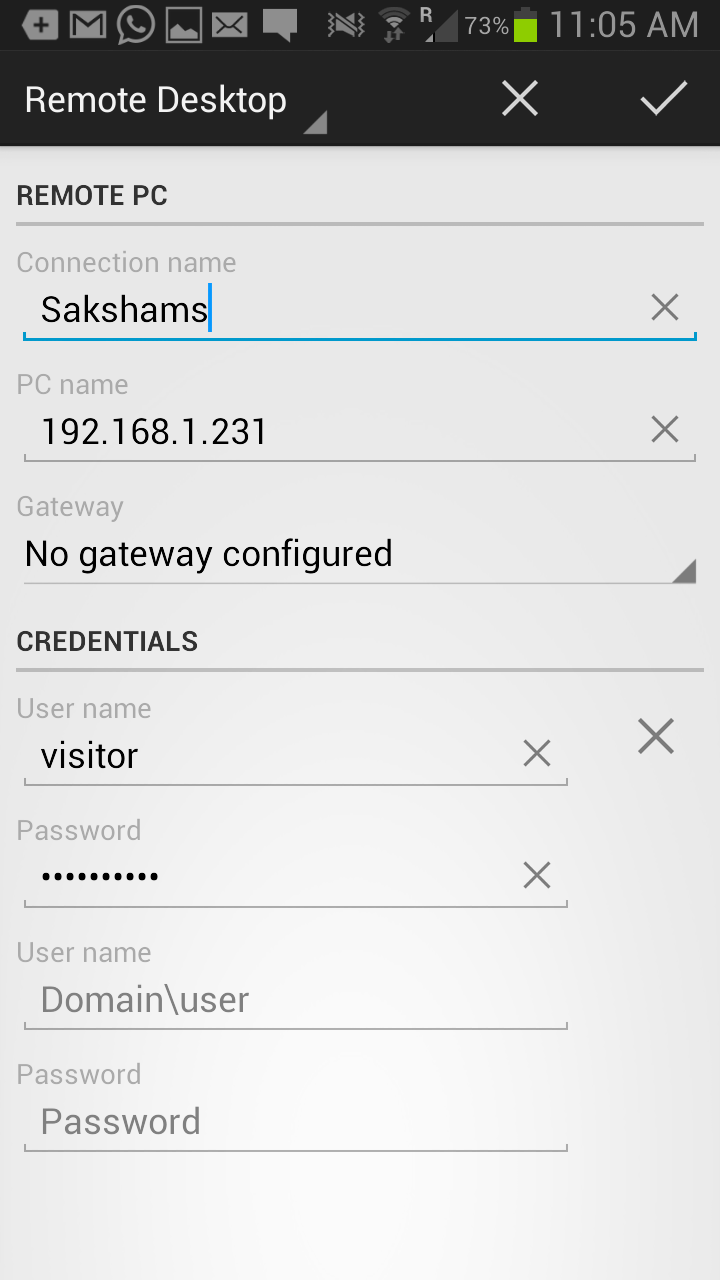
#4 To get started open the RD client then to add a new connection on the android device tap on the ‘+’ icon.

#5 Enter a name for the connection, the IP address of the PC (read the next step to find out your computer’s IP address) and the credentials of your account i.e. username and password.
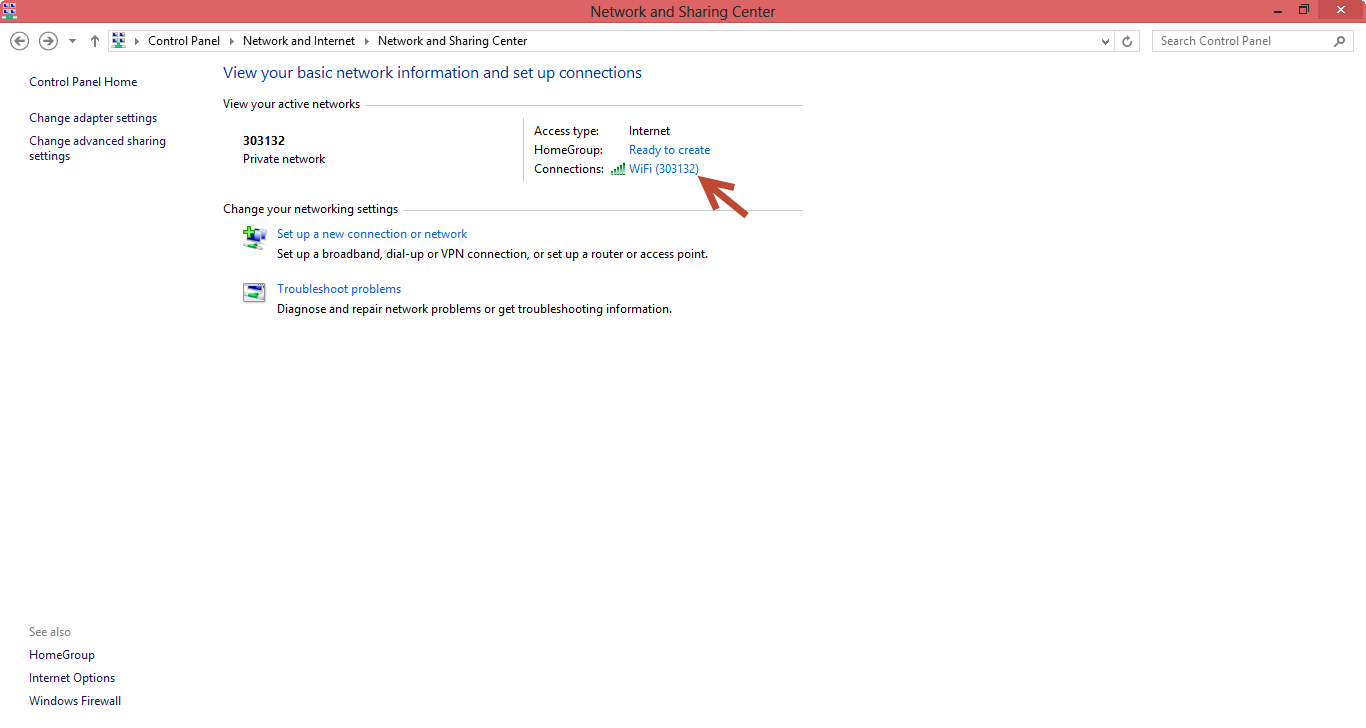
To find the IP address of you PC go to control panel, select Network and Internet and then click on Network and Sharing Center.
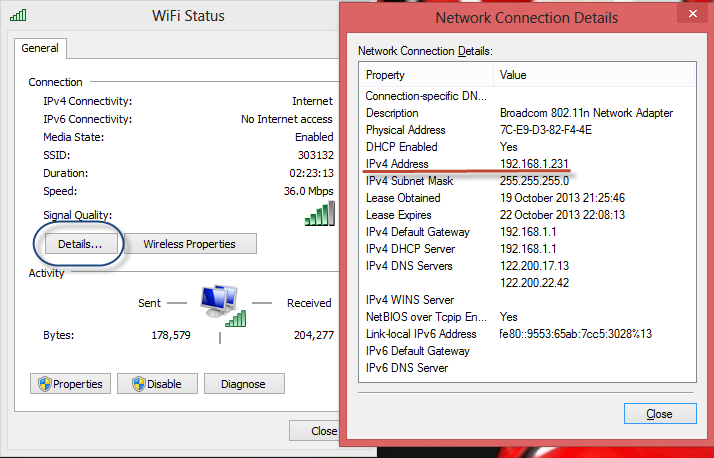
Select your active connection then connection status window opens and click on Details. A new window opens showing various connection details and the number next to “IPV4 Address is the IP address of your PC.
#6 After you have filled out all option tap Done to save the connection.
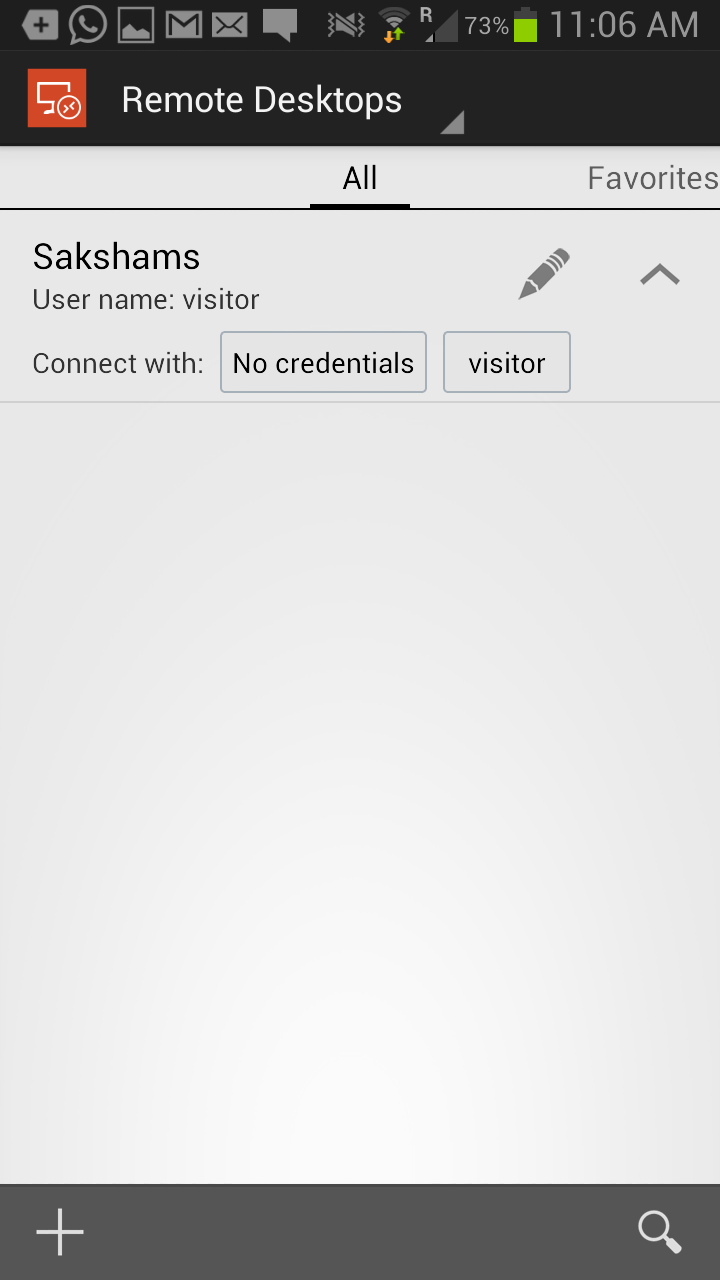
#7 Select the connection you just created from Remote Desktops. You can either open the user account whose credentials you have entered or open an other account using no credentials. But you have to make sure Remote Connection is allowed in that specific account.
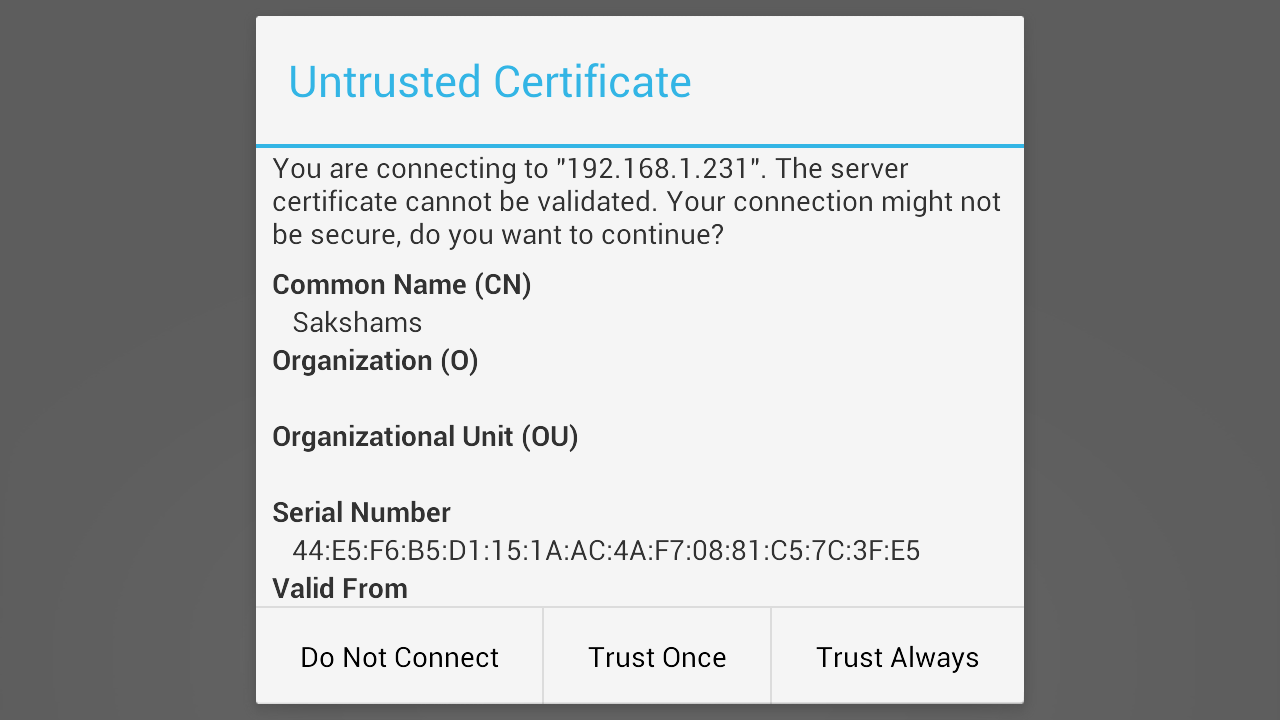
#8 You get an untrusted certificate prompt select Trust once or Trust always accordingly.
Now you can access you PC using your Android device.
Few Useful Screenshots & Tips
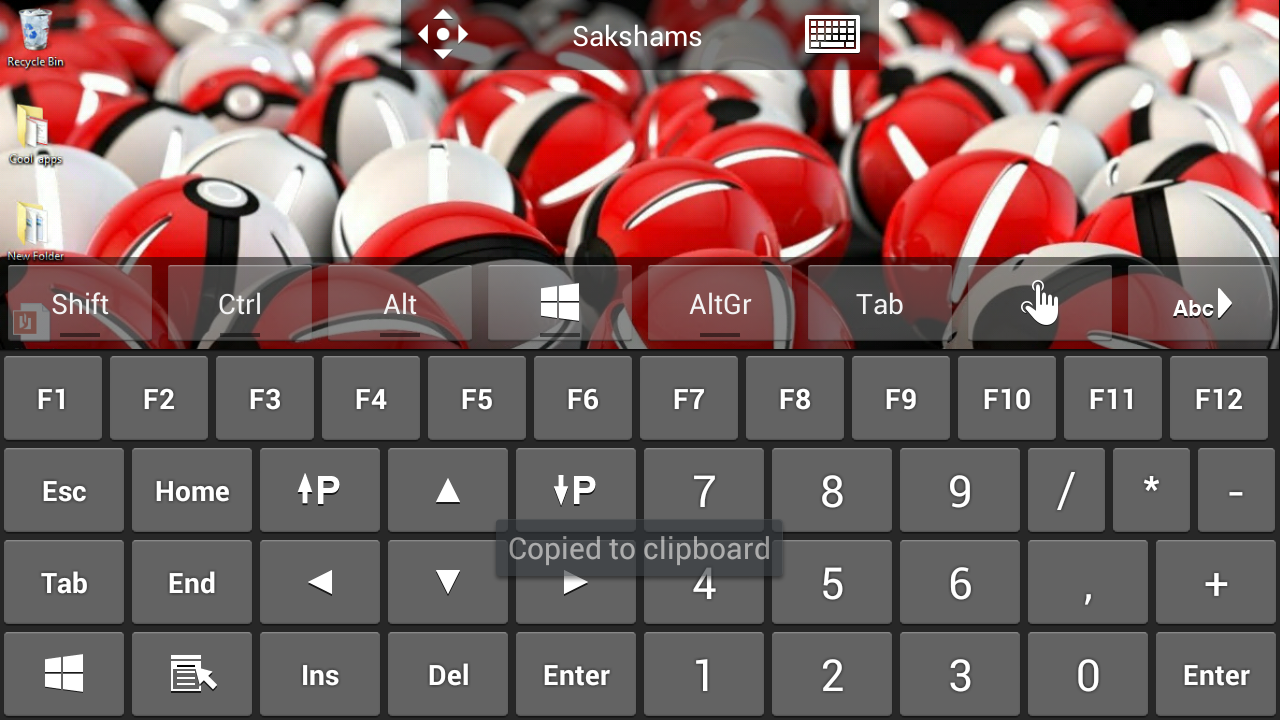
* There is a connection bar on the top which has two icons: one for the pan key and other for the keyboard. When you tap on the connection bar it opens the utility bar shown below.

* Tapping the windows icon on the utility bar takes you to the home screen.

* You can end the connection by double tap of the back key.
So this is how you use the new Windows Remote Access Client for Android. The app was just released few days ago so you might find some bugs, but rest assured this is the best free Android app available for remotely accessing your computer.
Leave a Reply